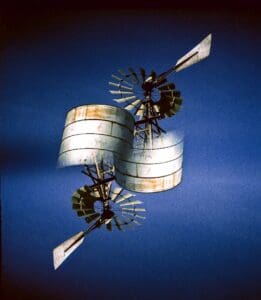
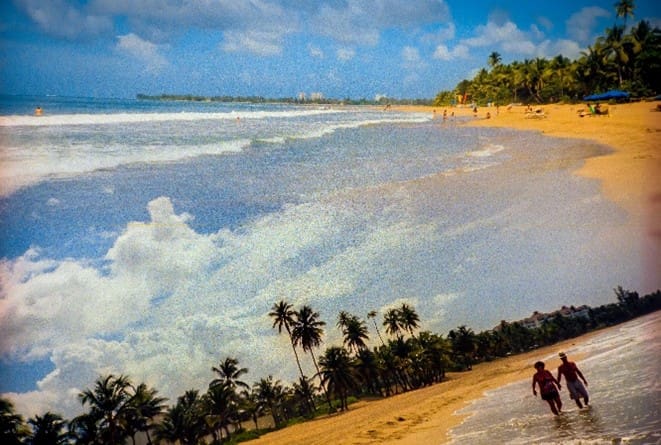
Creating double exposures involves layering two or more images into a single frame to create a composite photograph that tells a unique story or conveys a creative vision. Here are some techniques to help you master the art of double exposures:
1. Planning Your Shots
Subject and Background: Start by choosing a strong subject for your first image and a complementary background for the second. The subject should be clear and well-defined, while the background can add texture or context.
Lighting: Ensure that the lighting for both shots complements each other. High contrast between the subject and background often works well for double exposures.

2. Film Photography Techniques
Manual Rewinding: After taking your first shot, manually rewind the film to shoot the second exposure over the first. This technique allows for precise control over the layering of images.
Masking and Layering: Use physical masks, such as pieces of cardboard or cellophane, to block parts of the film while shooting. This can create interesting patterns and effects when the second exposure is made.
Experimenting with Film Types: Different film stocks react differently to light and multiple exposures. Experiment with various types to see which ones give you the desired effect.
3. Digital Photography Techniques
In-Camera Double Exposure Mode: Many modern cameras have built-in double exposure modes. Nikon, Canon, and other brands offer settings that allow you to overlay two images directly in the camera.
Overlaying Images: Take your first shot, then use the camera’s overlay function to line up your second shot. Experiment with different compositions and exposures to achieve the desired effect.
Using HDR and Bracketing: High Dynamic Range (HDR) and bracketing techniques can be combined with double exposures to enhance the dynamic range and detail in your images.

4. Post-Processing Techniques
Photoshop and Other Software: Use software like Photoshop to create double exposures digitally. Import your images as layers, then use blending modes (such as Multiply, Screen, or Overlay) to combine them.
Adjusting Opacity and Blending: Fine-tune the opacity and blending options for each layer to achieve the desired effect. Play with different blend modes to see how they interact with each other.
Masking and Layering in Post: Use layer masks to selectively apply the double exposure effect to specific parts of the image. This allows for greater control and precision in the final composition.
5. Creative Experimentation
Textured Elements: Incorporate textured elements such as leaves, water, or architectural details into your double exposures to add depth and interest.
Silhouettes and Outlines: Use silhouettes or strong outlines in one of your exposures to create a striking contrast with the other image. This technique works particularly well with subjects against a bright background.
Color and Monochrome Mix: Mix color and monochrome images to create a dramatic and artistic effect. The contrast between the two can add a unique dimension to your work.

6. Practical Tips
Use a Tripod: For precise alignment, especially when creating double exposures manually, a tripod can be invaluable.
Take Multiple Shots: Experiment with multiple combinations to see which ones work best. Don’t be afraid to take several shots of the same scene with different settings.
Review and Refine: After creating your double exposures, review them carefully. Fine-tune your approach based on what works and what doesn’t, refining your technique over time.
By exploring these techniques, you can create stunning double exposures that blend reality and imagination, resulting in unique and captivating images. Whether you’re using film or digital, the key is to experiment, push boundaries, and let your creativity guide you.

